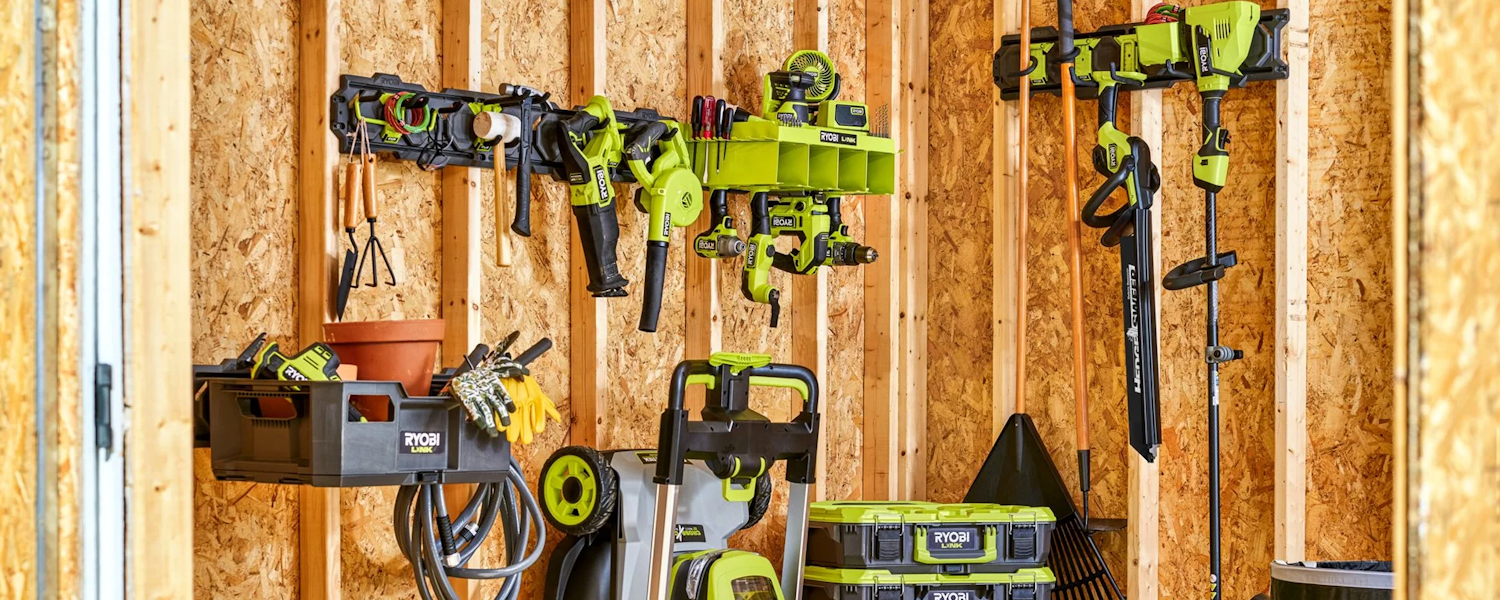
The ONE+ 18V Battery Platform offers true cordless freedom
RYOBI is known worldwide for its high-quality batteries and cordless tools. Built with advanced technology, RYOBI batteries deliver outstanding performance. And with the Ryobi ONE+ platform, you only need one battery and charger for all your tools and every project around the house and garden. The possibilities are endless. You gain access to a complete system that lets your creativity run free. To get you inspired, here are 5 examples of quick and easy projects you can build with Ryobi ONE+ tools.
1. Build a Garden Bench or Planter Box

Tools: ONE+ circular saw + ONE+ drill driver
A garden bench or planter is easier to make than you might think.
Materials needed:
• Scaffold boards or treated timber (approx. 30 x 200 mm)
• Corner brackets or battens for joints
• Outdoor screws
• Exterior varnish or stain
Steps:
-
Cut the timber to size with the ONE+ circular saw. For a simple bench, cut two seat boards (around 120 cm), four legs (around 45 cm), and cross beams.
-
Assemble the frame with the ONE+ drill driver. Use corner brackets or battens for extra stability.
-
Sand smooth and protect the timber with varnish or stain.
Tip: For a planter, follow the same method with shorter planks. Line the inside with landscaping fabric so the soil stays in place.
For a more advanced raised planter, Ryobi’s website offers step-by-step instructions along with many more DIY project ideas.
2. Workshop Lighting

Tools: ONE+ work light
Good lighting makes DIY not only easier but also safer. Ryobi ONE+ work lights are portable, but you can also mount them for permanent workshop lighting.
Materials needed:
• One or more ONE+ work lights
• Wooden board or metal strip
• Screws or hooks
Steps:
-
Choose the spot where you need the most light – above your workbench or in the garage.
-
Fix a board or metal strip to the wall and mount the work light onto it. With the adjustable head, you can always direct the beam where you need it.
-
Need more light? Add multiple lights side by side – they all run on the same ONE+ battery.
Tip: Hang the lamp on a hook or clamp so you can detach it and use it elsewhere when needed.
3. Build a Bike Rack or Wall Storage System

Tools: ONE+ drill driver + ONE+ circular saw
With some timber and heavy-duty fixings, you can build your own practical storage for bikes or garden tools.
Materials needed:
• Plywood or timber for the frame
• Wall hooks or metal brackets
• Plugs and screws
• Spirit level
Bike rack steps:
-
Cut a wooden base plate of approx. 60 x 120 cm with the ONE+ circular saw.
-
Mark the wheel slots (grooves for the front wheel to slot in).
-
Saw or rout the grooves and add a crossbar for strength.
Wall storage steps:
-
Measure your wall and plan the layout.
-
Drill holes in brick or concrete with the ONE+ rotary hammer, insert plugs, and fix battens or a plywood sheet.
-
Screw in hooks or brackets – ideal for hoses, spades, or sports gear.
4. Build an Outdoor Kitchen or BBQ Table

Tools: ONE+ multitool + ONE+ grinder
An outdoor kitchen sounds like a big job, but with a simple timber frame and a few metal accents, you can make your own stylish BBQ table.
Materials needed:
• Timber battens (e.g. 44 x 44 mm) for the frame
• Sturdy planks or plywood for the worktop
• Castors (optional)
• Metal profiles or sheets
Steps:
-
Cut timber to size and build a rectangular frame at the desired height (approx. 90 cm).
-
Use the ONE+ multitool to cut recesses, e.g. for a stove or herb tray.
-
Trim metal parts with the ONE+ grinder – useful for a grill holder or metal base.
-
Fit a timber worktop and, if needed, an extra shelf underneath for storage.
Tip: Protect the top with heat-resistant varnish or place a loose tile slab on top so it can handle a hot BBQ.
5. Make a DIY Storage Chest on Wheels

Tools: ONE+ jigsaw + ONE+ sander
A storage chest is a handy project that works just as well indoors as outdoors.
Materials needed:
• MDF or plywood panels (18 mm thick)
• Screws
• Four swivel castors
• Optional handles or hinges for the lid
Steps:
-
Cut all panels to size with the ONE+ jigsaw: base, sides, and lid. A good size is 80 x 40 x 40 cm.
-
Screw the panels together to form a sturdy chest.
-
Attach the wheels underneath and add handles or a hinged lid.
-
Sand smooth with the ONE+ sander and finish with paint or varnish.
Tip: Cut side recesses with the jigsaw as built-in handles – saves on extra fittings.