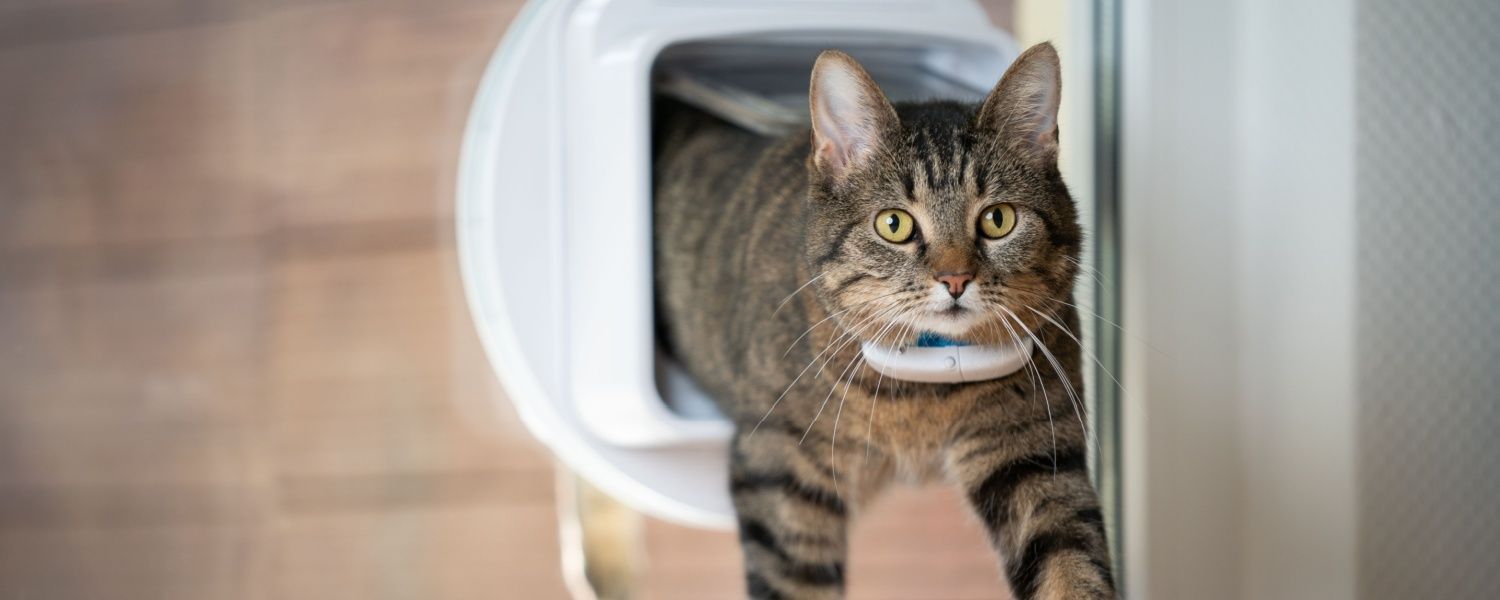
A dog or cat flap gives your pets freedom and makes life easier. You can have a professional install it or do it yourself with a bit of skill and some basic tools. Read how to approach it, from choosing the flap to the finishing touches.
The Right Flap for Your Dog or Cat
Dog and cat flaps come in various styles and are usually made of wood, plastic, or aluminum. The most advanced types are equipped with a chip lock, which works with a chip implanted in your pet’s subcutaneous tissue. This prevents stray animals from entering, but the plastic parts of the chip lock can be vulnerable to overly enthusiastic dogs. These flaps were initially designed for cats.
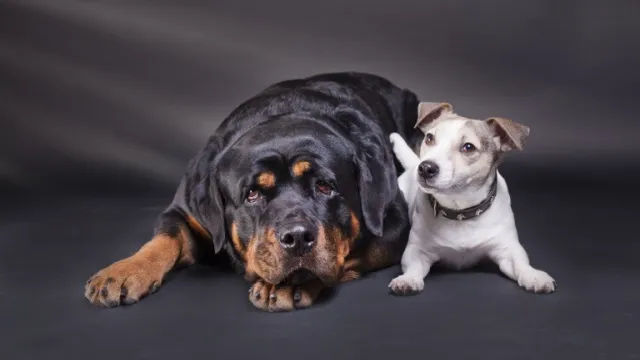
We advise spending a bit more on a sturdy, high-quality flap. Dog flaps can endure a lot of wear and tear, and the cheapest options may not hold up well. Extras like draught excluders, noise dampening when closing, and a lock for added security and comfort are also beneficial. The colour is also important: you want a flap that blends with your home’s decor. But the most crucial aspect is the correct dimensions. While cats can all fit through the same small flap, dogs vary significantly in size, and the flap dimensions should match your dog for comfortable use. Follow these guidelines:
- Choose a flap about 5 cm wider than the widest part of your dog.
- The top of the flap should be at least 2.5 cm higher than the highest point of your dog’s back.
- The ‘step-over’ – the distance from the ground to the bottom of the flap – should not be more than 1/3 of your dog’s height.
Where to Install the Flap
The most obvious place for a dog or cat flap is in a door. It’s also possible to install the flap in a wall, and there are special ‘tunnel flaps’ for cavity walls. A wall flap is less noticeable and can be bricked up and made invisible if removed. However, it is more complex than installing a flap in a door. It becomes even harder when you want to install a flap in a glass door — best left to a professional. For double glazing, it’s even impossible. Our guide focuses on the most common option: installation in a door.
Installing a Dog or Cat Flap in 7 Steps
These tools are handy:
- Ruler
- Pencil
- Screwdriver drill
- Spirit level
- Jigsaw
- Attach the Template to the Door
Flaps usually come with a template that indicates the dimensions of the cutout. Attach this where the flap will go, considering the step-over at the bottom of the door.
- Mark the Drill Points
To drill accurately, make four X-marks at the inner corners of the outline.
- Drill the Holes
Drill holes in the centre of the X-marks at each corner, ensuring they do not extend beyond the outline.
- Mark the Cutout
Remove the template from the door and use a pencil and ruler to draw lines connecting the outer edges of the four drill holes.
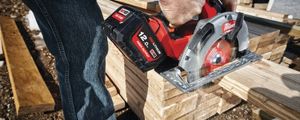
- Cut the Opening
Use a jigsaw to cut the hole for the flap. Start at one corner and insert the saw into the drill hole. Carefully follow the pencil lines.
- Place the Flap in the Cutout
Position the inner and outer frames of the flap on either side of the door. Use a spirit level to ensure they are level.
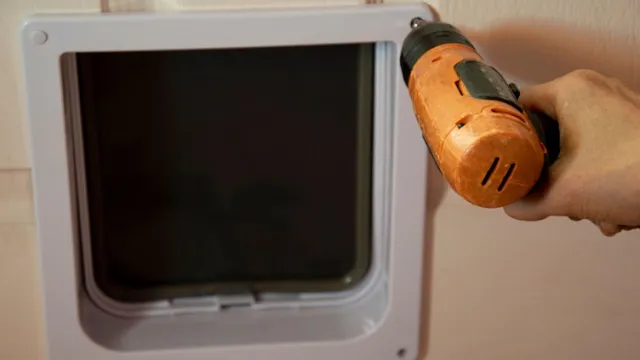
- Screw the Flap to the Door
Hold the flap in place and tighten the screws until they are just secure but not overly tight.
Tip: Apply some sealant inside the outer frame to prevent draughts. This is especially important when installing panelled doors.