A concrete mixer is handy, especially if you have a lot of masonry work or want to pour a concrete floor. If you’ve never worked with a concrete mixer before, read our professional tips on buying/renting one and correctly using and cleaning it after use.
What should you pay attention to before buying/renting a concrete mixer?
The prices for a concrete mixer start at around 200 euros. But if you want to use one for a one-off job, it is more feasible to rent it from a hardware store. In both cases, it is good to ask yourself what you need. Things to watch out for:
- The capacity of the drum. It varies from about 120 to 250 litres. Unlike construction professionals who want to mix as much concrete or mortar as possible in one go, a smaller drum is sufficient for most DIY jobs.
- The tilting system of the concrete mixer. You can tilt mixers with a traditional foot brake in any mixing position by pressing the foot brake and turning the tilt wheel until the drum is in the desired position. Other systems (usually with a rod instead of a steel cable) have a few fixed mixing positions.
- The drive. Usually, most concrete mixers are electric, but some models run on petrol — useful in remote places with no electrical power. It is better not to use them in enclosed spaces because of the exhaust fumes.
Working with a concrete mixer
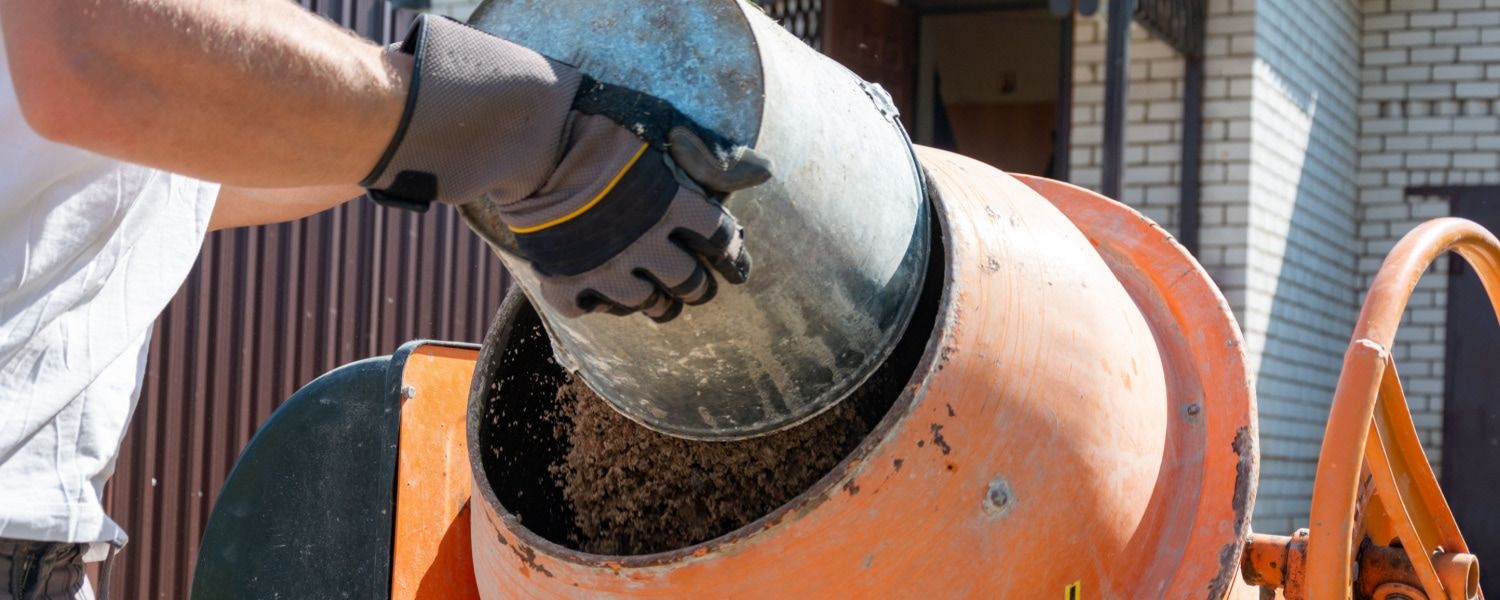
Start by scooping half the amount of concrete or mortar you want to mix into the drum and add a little water. Place the drum on an incline and let the concrete mixer run for a few minutes. Then add the rest of the ingredients.
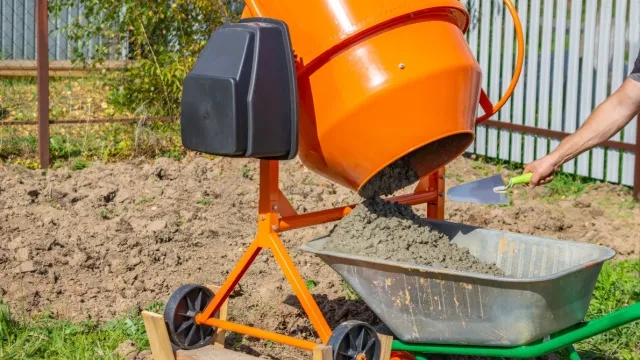
The mixture is ready when it has a smooth consistency. Let the drum turn back, and pour the mixture into a wheelbarrow. Make sure the wheelbarrow is stable and straight under the concrete mixer. You don’t want the content of the drum to fall next to the wheelbarrow or tip over the wheelbarrow under the weight of the mortar or concrete.
The correct mixing ratio and ingredients for mortar and concrete
- For masonry mortar, the ratio is 1 part cement, 3 to 4 parts sand and 0.6 to 1 part water.
- For concrete, the golden rule is 1-2-3: 1 part cement, 2 parts sand and 3 parts gravel. The fourth ingredient is water.
You can choose from different types of cement
- The most commonly used is Portland, a grey cement made from ground clinker. There is also white Portland cement — used for decorative purposes.
- Quick-drying cement is popular with do-it-yourselfers. As the name implies, this dries faster than ordinary cement. It is especially suitable for smaller jobs.
- Special cement is used to make concrete exposed to extreme conditions, such as sulfate-resistant cement and cement with a low alkali content.
The type of sand also affects the finished result
Sand thickens the mortar or concrete. The properties of the mixture change depending on the type of sand. The most commonly used sand types are:
- River sand. This fairly coarse sand is ideal for concrete and produces a very durable masonry mortar.
- Construction sand is a fine type of sand, which you can use to make a smooth and pleasantly workable masonry mortar.
- Silver sand, also known as white/quartz sand, has a particularly fine structure and a light colour. This sand is ideally suited for aesthetic jointing.
Additions
To make mortar or concrete even more suitable for special applications, you can add various ingredients, including:
- Pigment: with pigment, you can give the mixture a colour of your choice, which can have a unique aesthetic effect for some applications.
- Lime: a little extra lime makes the mixture more workable and reduces the risk of abrasion.
- Water repellent: used for exterior plaster or plaster in damp interior spaces.
- Frost-resistant agent: frost is not ideal for drying mortar or concrete. If you work at temperatures below freezing, we definitely recommend adding a frost-resistant agent.
Cleaning the concrete mixer
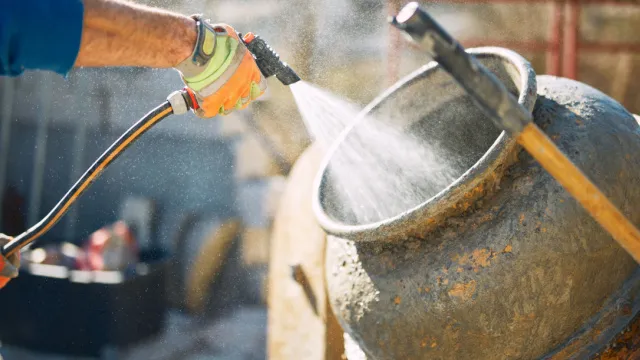
After each use, it is necessary to clean the concrete mixer thoroughly. Otherwise, the remaining residue hardens, and you will have to eventually clean it with a chisel. Disconnect the power supply and wash the outside of the concrete mixer and the drum with running water, possibly with a high-pressure cleaner. Ensure the motor, drive system, and control box do not get wet. After cleaning, let the mill run for a while to empty the drum completely.
Tip: If you plan to store the concrete mixer for a longer period, spray the inside of the drum with a rust-resistant product such as WD-40.