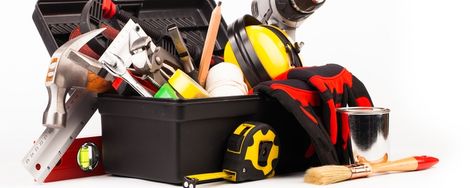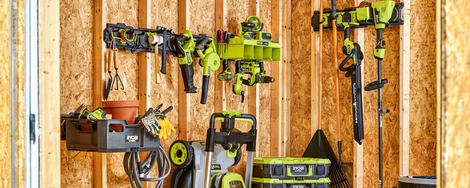
Anyone can lay bricks, but you must get the hang of it first. What certainly helps is ensuring you have some essential basic tools at hand. Here, we provide an overview.
Preparation
Before you start bricklaying, it’s advisable to spray the bricks with a garden hose. If the bricks are too dry, the mortar won’t adhere properly. If the bricks are too wet, the mortar will run out between them. Therefore, it’s best to wet them a day in advance.
Mixing the Mortar
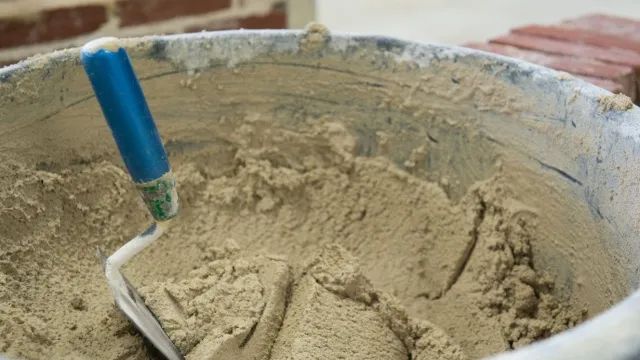
You really can’t do without a cement mixer For large bricklaying jobs, but as an inexperienced bricklayer, you will probably start small. To mix the mortar properly, you need a mortar tub. Mortar tubs are made of strong plastic and usually have a capacity of 65 litres. A flat shovel is the most convenient for scooping sand and cement into the tub and mixing them together. And with the aforementioned garden hose, you add the necessary water.
For Accuracy
If you want to ensure a neat result, the following aids are useful:
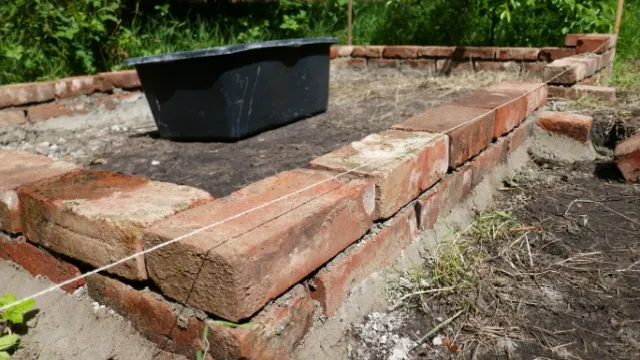
Brick line: A sturdy cord that you stretch between two points above the wall under construction. You can place each new layer of bricks exactly against the taut cord.
Plumb bob: Simply a weight on a cord. You can use it to check if the wall is vertical.
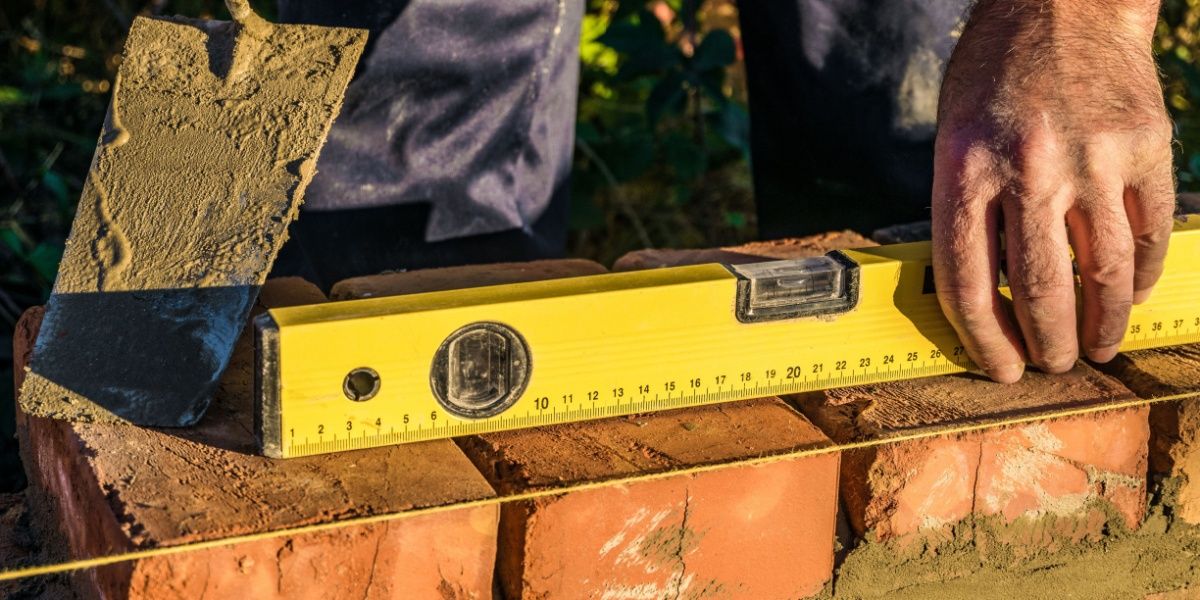
Spirit level: Regularly check your brickwork to see if it remains perfectly horizontal and vertical.
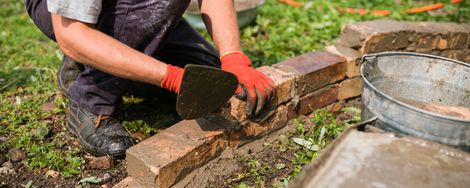
The Bricklaying Process
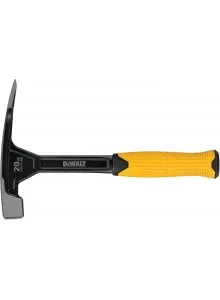
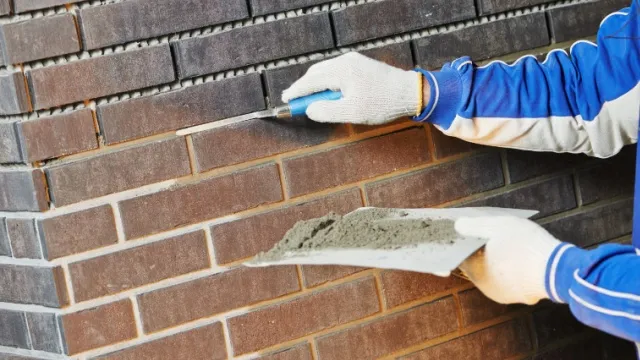
To apply and spread the mortar, you use a trowel. A brick trowel has a steel or plastic blade and a wooden or plastic handle at a right angle to it. With the trowel, tap each placed brick lightly, and use it to scrape off the excess mortar. Because you are working in a stretcher bond, you’ll have to halve bricks. With the sharp edge of a brick hammer, you can easily cut bricks to size.
Finishing Touches
Once the brickwork is done, use a stiff broom to sweep the wall clean. Sweep away all the excess mortar and ensure the joints are clean and open. You can use an old screwdriver to scrape out stubborn bits of cement. Don’t wait until the next day to clean up, since it will be much harder. After a few days, the mortar has hardened, and you can give the finishing touch by pointing. For this, you need a pointing board on which you scoop the pointing mortar, and a pointing trowel, which you use to push the mortar into the joints.